I’ve never really wrote a tutorial before so apologies if this is bad
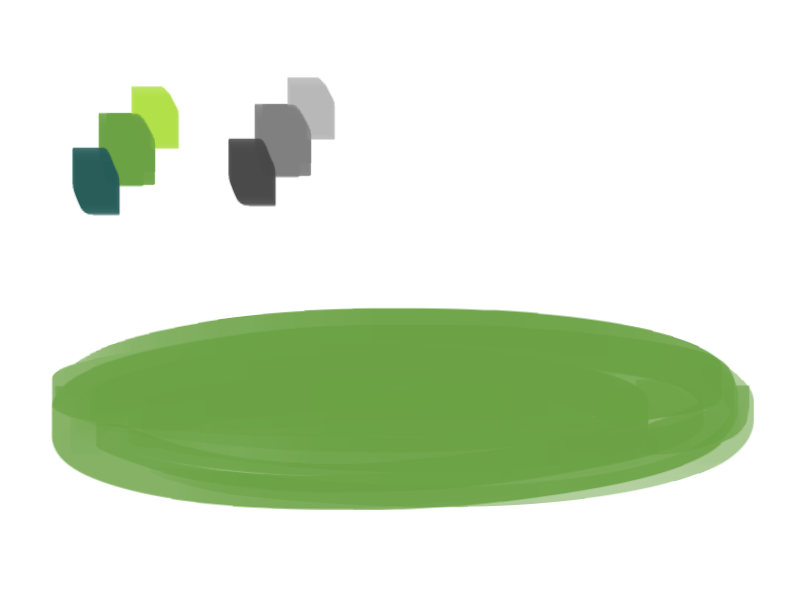
1. okay first thing I do is pick three colors, a mid, dark, and light. I like to check the colors in greyscale to make sure there’s enough contrast between each one.
I then plop down a blob of whatever my middle tone color is.
2. next, I take my dark color and just sort of randomly place it around. I try to make sure there’s a good amount of both the mid and dark tones spread throughout. I personally like to keep it kinda messy. I also have pen pressure on for both brush size and opacity, so I can have some blending action going on.
3. for the next step I do the exact same thing as before, except with the light color.
4. aight this is where we start adding details. see how you just have a bunch of colors and edges where two colors meet? use the eyedropper and go to an area where two colors meet, eyedrop a color, and then use that color to draw in your grass blades. I do this at every point where colors meet. should note I personally like to use a square brush, but you can really just use anything.
5. you can technically stop at the last step if you’re going for a more simple look, but to add more details I go to the “empty” areas of solid color and just draw in random strokes using a color nearby. it’s just a way to fill up the empty space.
6. basically more of the same idea of eyedropping and drawing. for more variety so things look interesting, I like to add random plant shapes.
7. and so the grass doesn’t look too plain, I add random dots of color and pretend it’s flowers and stuff.
and there you have it, this is how I approach drawing grass.
Great question! When you’re starting to work in digital art, layers can be incredibly confusing to start out with. They seem almost like magic… but what are they, really?
Personally I also work in Medibang, so I think these screenshots will be helpful.
To begin with, let’s take this picture of a zebra I drew a little while ago:
It seems like there’s a LOT going on here. But actually, layers make it easier than ever to make your drawings feel nice and clean digitally. Lots of programs also have specialized tools to help you color effortlessly – and it’s VERY different from the traditional method of being careful to not color outside the lines.
First of all, let’s take a look at layers. What ARE layers? They are… well… a way to organize your art, for a start. Anything on the top layer will be BOSS and will (generally) be on top of everything else. That’s why most artists use the top layer for lineart, as you yourself said.
Artists can use SO MANY LAYERS. Like, some artists use 100+ layers in one piece. But that’s a lot, so let’s start with… 3. Just 3 simple layers. For example…
Now, let’s say you have this lineart and you want to color it. The color will go on the bottom, so that it doesn’t interfere with the lineart layer. But how do you color it? Well, you COULD do the very slow and tedious process of going over it bit by bit.
But that’s honestly very tedious and no one actually likes it. It leaves a lot of room for error, and it takes forEVER.
Instead, let’s make this easier.
HOW TO COLOR USING THE SELECT TOOL!
First of all, this requires that your lineart not have gaps. That means all black lines are connected.
Second, let’s go to our color layer and make sure it’s selected (and not the lineart layer)
Next, use the magic select tool on the left hand side. It looks like a little magic wand.
Click on the empty space you WANT to color. In my case, it’ll be the scarf area. Medbang will sense the area based on the visible lineart layer, even though you are still technically on the color layer.
(you can select multiple areas, like the two little ends of the scarf, by holding down the Shift key and clicking those areas)
The next bit is a bit more technical.
With these parts selected, you COULD just use the bucket tool and fill everything in. BUT, with the way digital programs work, you might end up with a VEEEERY thin layer of white between your lineart and your colors.
So what I (and a lot of artists) do instead is manually expand that selected area by just a few pixels to make sure that border is caught in the all-encompassing COLOR CONQUEST.
To do this, just go upstairs to the ‘select’ menu and click ‘expand’. Give it a few pixels, hit enter, and THEN use a filling technique of choice. I just throw a large square over the area.
Now, I know what you’re thinking. “okay, I have the flat colors. But what if I need to add details, like shading and patterns?”
Let me introduce you to our friend…. CLIPPING!
What is clipping? I thought you might ask. Well, consider this scenario. You have your color layer, your lineart layer – and between them – your shading layer. You want to shade stuff, but again, you might have to go through and color things bit by bit so as to make sure nothing goes outside of the lineart.
BUT look there! What’s that checkbox up at the top? It’s a bird! It’s a plane! It’s…. CLIPPING!
Go ahead and check that box – and it will trap your Shading layer in a prison…. a prison of the color layer!
Basically, clipping means you lock the layer onto the layer directly underneath it, and the shading will ONLY affect whatever exists below it. If you didn’t color outside the lines… the shading will also not cross that border.
Voila!
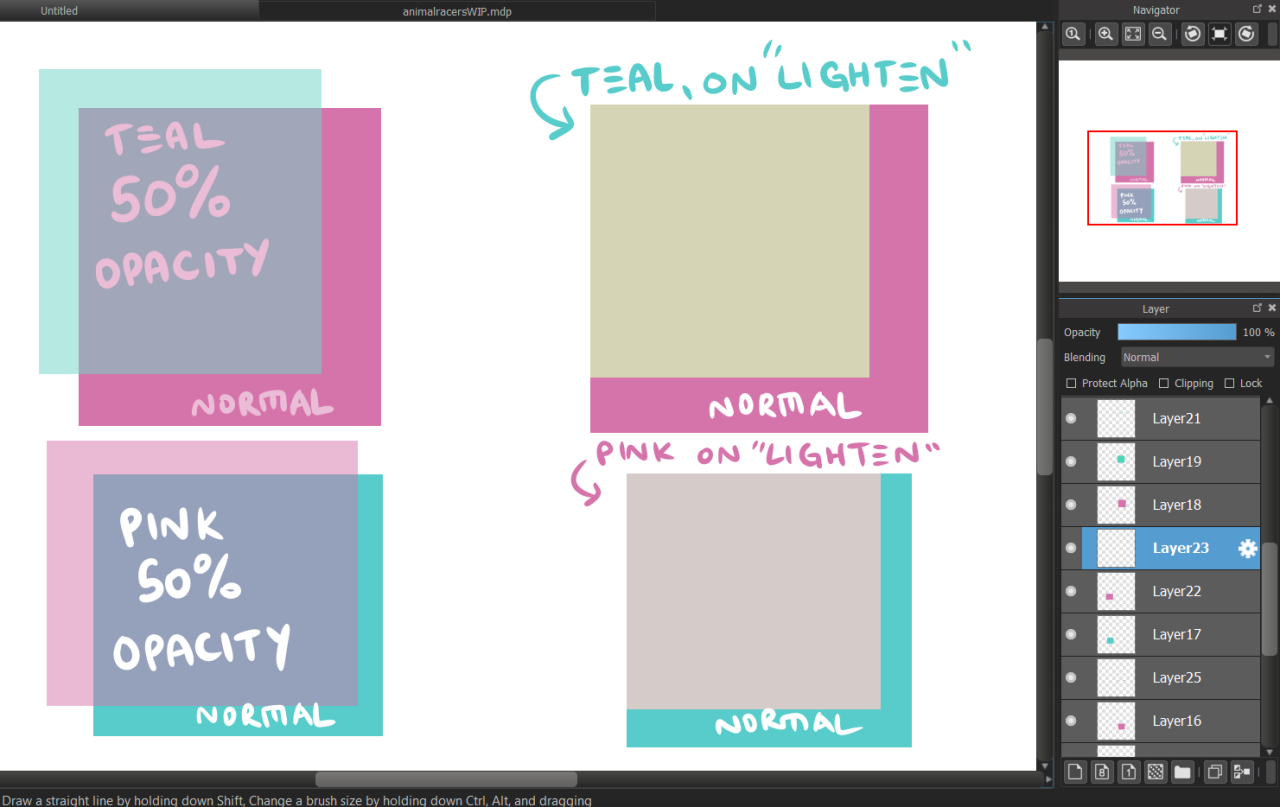
Now, layers are MUCH much more than this. We could probably have an entire class just about layers. However, I recommend just playing around and discovering as much as you can on your own. Digital art is a lot of fun, and opens many doors. You can allow layers to interact with each other in many crazy ways – there’s settings like “Lighten” and “Multiply” and “Overlay” that all have different functions and allow you to play with colors quickly and easily for your art.